


John Shaver (Design Panoply) is a designer and shop owner that has been with Creative Market since we launched back in October. His work has always been a great example of how to professionally package and present design products that get attention and, most importantly, sales. John was kind enough to put together his thoughts and process that go into one of his products and we’re excited to share that with you today. Without further adieu, we present a behind the scenes look at how John Shaver (Design Panoply) works his magic.
Introduction
Coming up with new product ideas is sometimes harder than creating the products themselves. I’m always on the lookout for inspiration, which usually hits me out of nowhere. I love creating digital files from tangible art, because it gives you an authentic feel that is almost impossible to replicate using only computers. Having other artists in the family always helps.
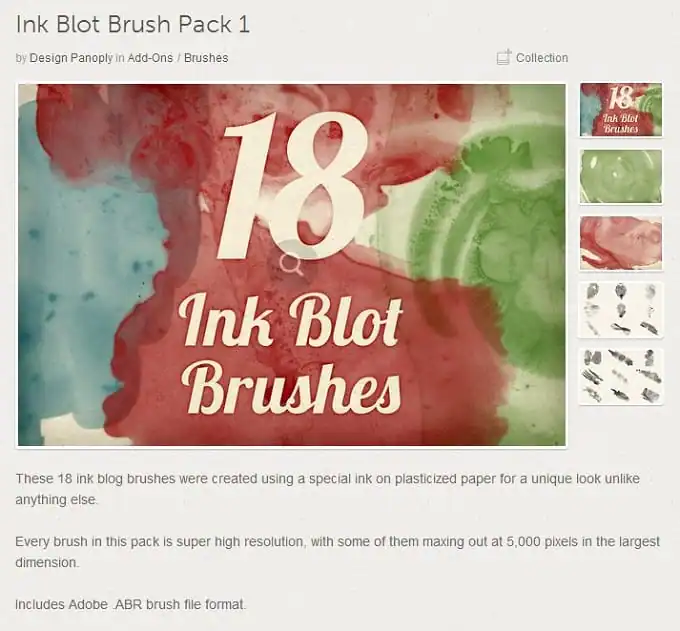
I’ll walk you through my process of creating my new Ink Blot Brush Pack 1, from the initial concept to the completed, purchase-ready file.
Initial Thoughts and Sketches
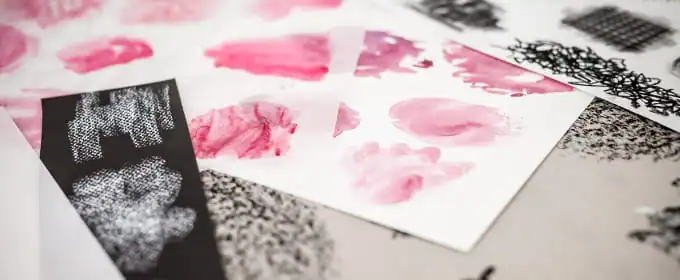
I’m proud (and a little embarassed) to say that I sometimes work with my mommy. She’s a talented traditional artist, and seeing her drawings and paintings gives me great ideas for unique and useful brush packs.
I create all types of design files, but when I make a certain type of resource that’s popular with the design community, like my Watercolor Brush Strokes Pack, I try and replicate that success with something along the same lines, while still expanding upon the original idea.
My mom loves to experiment with different mediums, like chalk, charcoal, and ink on all kinds of surfaces like art paper, cardboard, and plastic. Recently, she brought over a stack of ides, and I immediately saw some great potential, so off to work I went.
Creating the Item
The first step in creating a new brush pack is simply scanning in the art. You don’t need anything fancy. I’m using an Epson scanner I got for $100 at a Black Friday sale 5 years ago. I’ll typically scan between 900-1200dpi to capture as much detail as possible. Photoshop’s maximum brush size is 5,000 pixels, but you can always scale things down when the time comes.
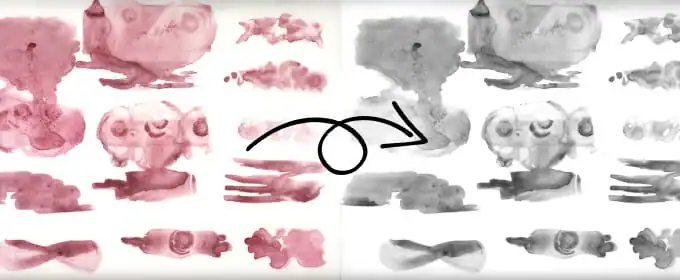
After scanning, I convert everything to grayscale, and make some Levels adjustments to get the background a pure white.
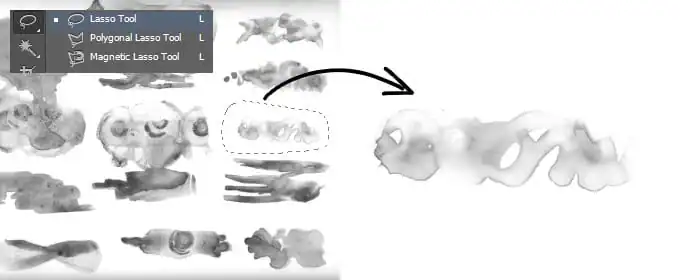
Then I’ll use the lasso tool to cut out a single brush and paste it into a new document. After that I crop it down as much as possible without cutting off any of the actual brush to make sure I get the highest resolution file possible.
If necessary, I’ll scale it down so it’s 5,000 pixels in the largest dimension.
(Note: I also create an extra, 2,500 pixel resolution version for Photoshop CS1-CS5.5 since the maximum brush size varies across versions of the software.)
Finally, I’ll select the entire canvas with CTRL + A and click Edit > Define Brush Preset.

Packaging it Up For Sale
This is the quickest part of creating a new brush pack, at least for me. After repeating the above process for all each individual item, I save it using the Preset Manager in Photoshop, and it’s ready to use.
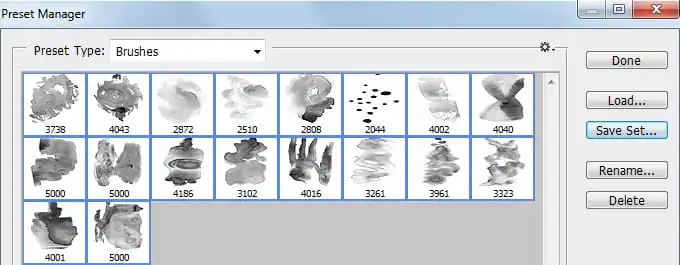
The only other thing I include in my .ZIP files is a small text file with a thank you and licensing information so people always know where to find more of my work in the future.
Picking a Price
Having worked as a designer for quite a while, I’ve developed an inherent ability to price items without doing much research, but I developed that over time through looking at thousands of other resources.
There are millions of design resources out there, so it’s pretty easy to see what is selling, and for how much. I usually search for items similar to the one I’m creating, see what they’re selling at, and set my price slightly higher. I like to think that the time, effort, and experience behind the products I create make them more valuable than the average stuff out there, plus, you have to earn enough money to make creating design resources worthwhile, or else it will be short lived.
Typically, for individual packs, my goal is to keep the price as close to $5 as possible, because it’s affordable for buyers, but still profitable enough to allow me to continue making more cool stuff!
Creating Attractive Screenshots
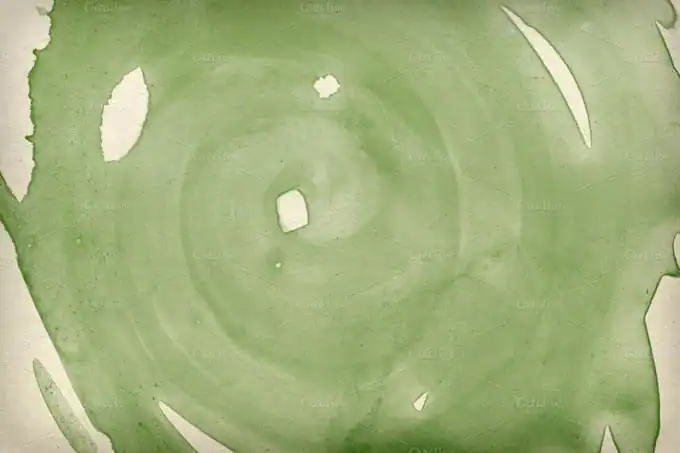
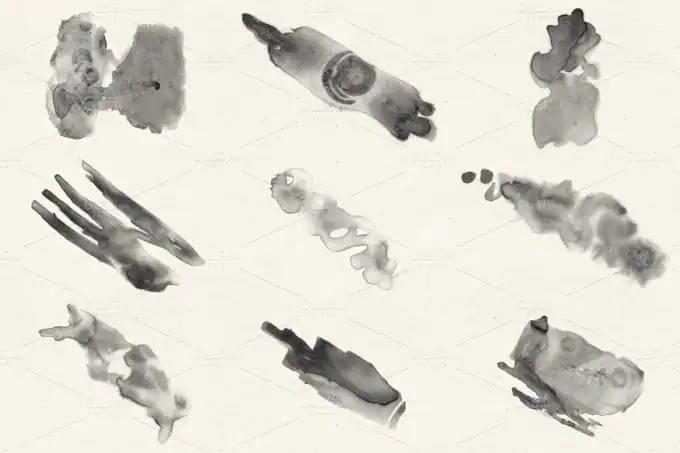
When presenting a brush set like this, I create preview images that show the items in a somewhat raw form, because I don’t want people to have a preconceived notion of how they “should” be used. I also like to use the biggest images possible so things are easy to see.
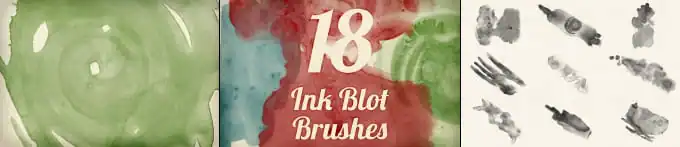
It’s great to get emails and messages with examples of my products being used in ways I never would have thought possible, so I do my best to leave things open for interpretation. Plus, I’ve found that a more flexible product sells better than something that is limited to a single use, so by keeping things simple, it allows for the buyer to imagine it in a variety of scenarios.
My overall goal with preview images is to give a clear and realistic view of exactly what somebody will be getting. There’s nothing worse than paying for a download and expecting more than you get. Under-promise and over-deliver, you’ll keep your customers happy.
Going Live
I always save a draft first and view it from the customers standpoint to make sure there are no typos or misinformation. I make whatever quick fixes are needed, then publish the product so it’s available to the public.
Promoting My Products
This is one of the most difficult parts of product creation in my opinion. It sucks when I make something really cool and useful, but I can’t connect to the right audience who would want to buy it.
I have three main avenues to promote my products:
1. On Creative Market. Every so often, I’ll submit a resource to the Free Goods section. Obviously I don’t make any money on the freebie, but it helps me get more followers, recommendations, and purchases on other products. Plus it feels good to give things away for free every so often 🙂
2. On Design Panoply. This is my site where I sell products directly, as well as post tutorials on how to use them, among other things. I keep pricing the same across every site to make it easy on the customer. If you have Creative Market credit, go ahead and use it without fear of overpaying. If you are reading through a tutorial and want some of the source files, you can get them directly without leaving the site.
This also includes sending out emails, tweets, and Facebook status updates to my subscribers when new products get released so people don’t miss anything new. I could write a ton of blog posts on how I get subscribers, but the main idea is that I give my people exclusive freebies if they subscribe to my site (check out the Designer Toolbox here).
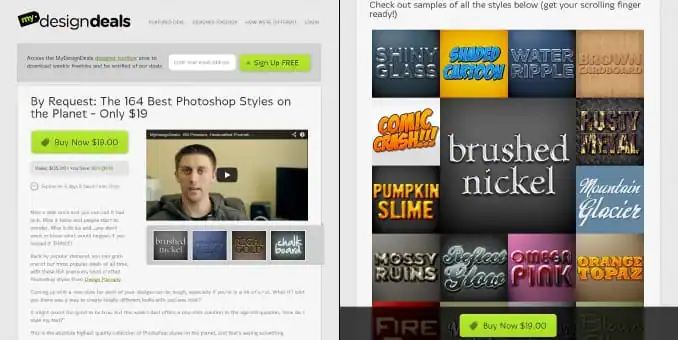
3. On MyDesignDeals. When I have enough products to create a decent sized bundle, I’ll package everything up and run a deal on MyDesignDeals. This helps promote my work to a new audience on top of bringing in some extra sales. I only put certain items up here, and not too often, or else people will try and wait around to get them at a discount, which can hurt more than it helps.
Final Words
There are hundreds of ways to go about creating a new product, but I’ve found that this works for me. There’s no one right way to do it, but I always make sure I’m phasing out things that don’t seem to work, and replacing them with new ideas to keep things fresh.
You can find my new Ink Blot Brush Pack 1 by clicking the image below.
//
I love chatting with other designers about how they work, so feel free to send me a message any time with questions or ideas of your own.
(If anyone else is interested in sharing their process, tips, or tricks with the community, please get in touch with us.)
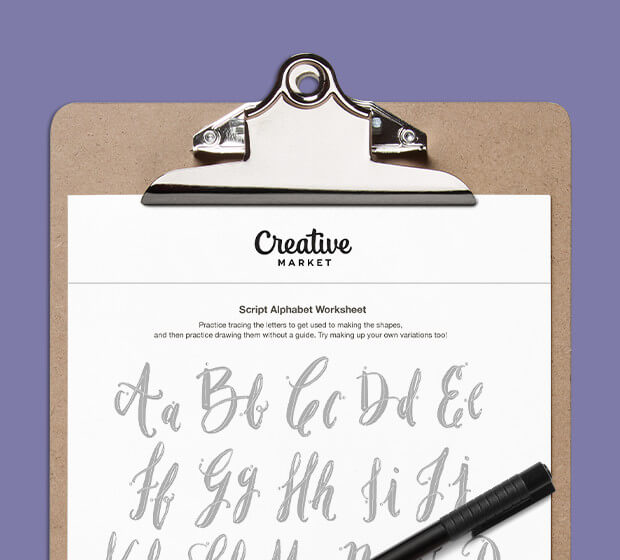
Download these worksheets and start practicing with simple instructions and tracing exercises.
Download now!






Tinkerer. Maker of quirky fonts with a sprouty disposition.
View More Posts
10 Comments